Halloween Treats!

Sunday, October 30, 2011

Halloween has always been a special holiday to me since my birthday is just the day before.  I had so much fun making these treat bags for all of the kiddos in our family!
Making these treat bags was super easy.  I purchased the plastic bags themselves from Hobby Lobby (with a 40% off coupon of course!). I cut kraft cardstock 4" x 4" and scored it at 2". I folded and stapled it to the bag.  Then I cut a colored piece of cardstock (all from the paper studio) at 2 7/8" x 3 7/8" and embossed it (using a variety of folders) with my Cuttlebug.  I attached ribbon and tied a bow, then glued it to the kraft cardstock. I welded and sized letters from the Stork's Delivery Cartridge on my Gypsy to make the word "Boo".  I also cut a variety Halloween shapes from different cartridges to add to the tags.  I used my Gypsy to size them as well. Last, but not least, I added a variety of sparkle using a stardust gel pen and glitter glue.  I think they turned out great and I hope the kids love them just as much :)  Happy Halloween! *~*Thanks for Stopping By*~*

Baby Card

Wednesday, October 26, 2011

I had a fabulous fall break last week!  My wonderful grandparents came to the Midwest (all the way from the East Coast) to surprise us!  It was great to see and spend time with them!  I miss them already :( I'm back this week with an adorable card to welcome a little one into this world and congratulate his parents.
 Here are the details:
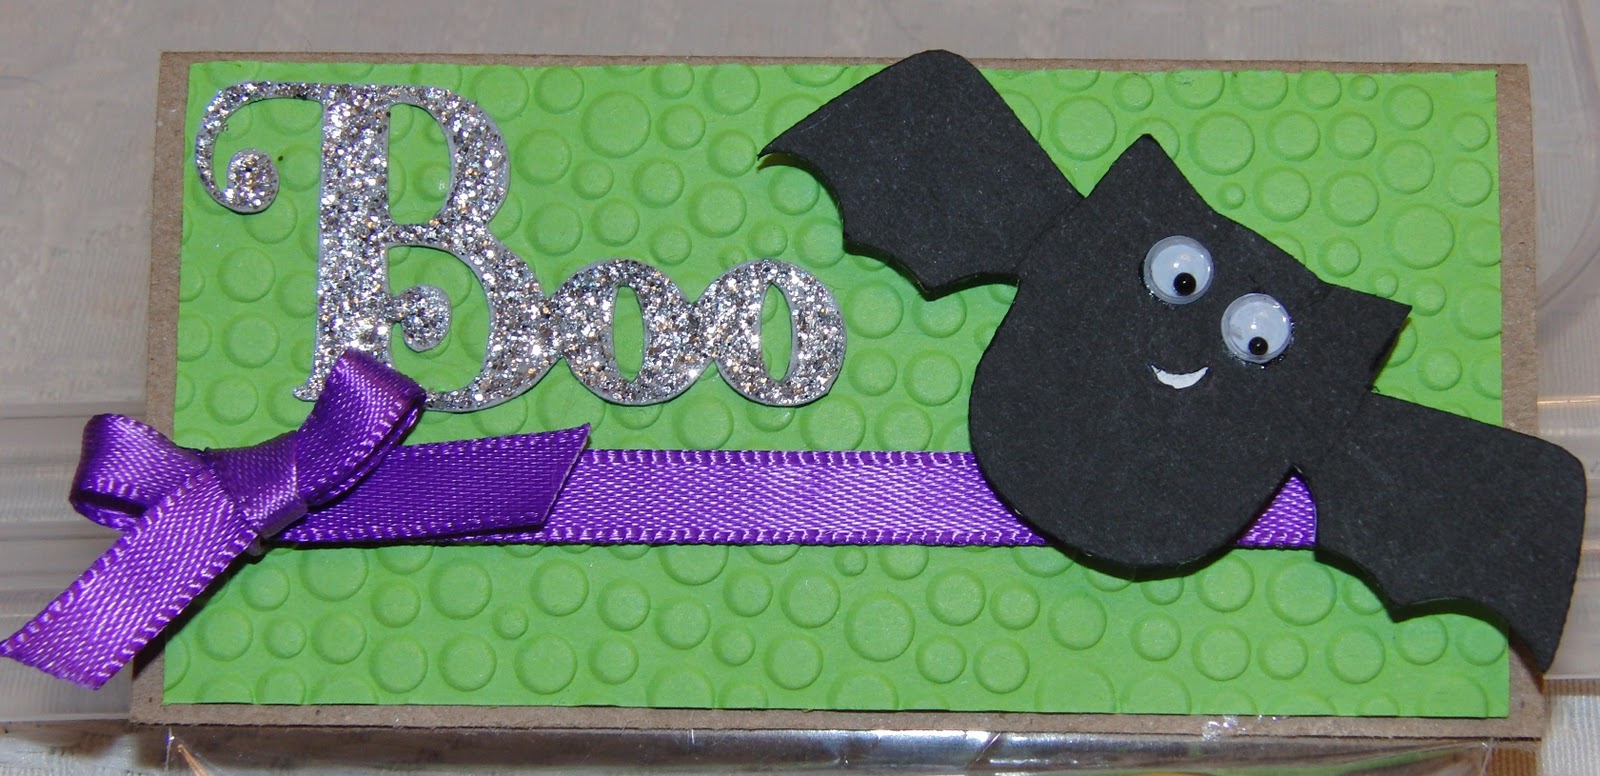
* Card Base: Paper Studio Cardstock - 5.5" x 4.25"
* Designer paper: DCWV Chistmas Stack - 5 3/8" x 4 1/8"
* Gray Mat: Paper Studio Cardstock - 4 7/8" x 3 5/8"
* Dark Blue Mat: Paper Studio Cardstock - 4.75" x 3.5" - Embossed with Cuttlebug Polka Dot Folder
* Stork - Stork's Delivery Cartridge - 3.75" - DCWV Christmas Glitter Stack & Paper Studio Cardstock
* Ribbon - Joann Fabrics - Essentials (I think)
* Stamp - Cloud 9 Simple Thoughts Baby
I posted a couple of different pictures in hope that you would be able to see the sparkle and colors well enough. I also thought about stamping congratulations on the front, but couldn't find a place without it looking overly cluttered. All in all I think it turned out really cute! I still have several more cards to post - so be sure to stop back in a few days. Thanks again to all of my followers :)  I appreciate all of your wonderful comments and support.  My blog would be nothing without you!  *~*Thanks for stopping by*~*

Another wedding card!

Monday, October 17, 2011

I'm back again with another wedding card!  This one was for a wonderful new friend who just got married in September.  I love that there are images on my seasonal cartridges that I can use for other occasions as well!  For this one I used the doves (which I also used for a wedding card here) from Joys of the Season.
 
I started by welding the hearts (cut at 5.5 "from the Create-a-Critter poodle) on my Gypsy.  Then I cut the same heart at 5" to layer on the top.  I embossed it with the Cuttlebug Polka Dots folder. The doves are from Joys of the Season cartridge cut at 2.75".  The stamp is part of the Hero Arts - Everyday Sayings set (one of my most used stamp sets because of it's versatility!). The ribbon is just from Offray and all of the paper is by The Paper Studio.  Lastly (but certainly not least!) the sparkle on the doves is Tulip fabric paint and the gems are from the Michaels $ spot.

Thanks again to all of my fabulous followers for sticking it out during this super busy time in my life! I love you support and reading everyone of your comments.  I've been super busy making cards lately and I'll be sure to get them posted very soon!  *~*Thanks for stopping by*~*

A long awaited wedding card

Monday, October 10, 2011

Where does the time go?  I am still alive, just super busy!  I am so sorry to all of my followers and so thankful that I have so many that have not given up on me!  I have been getting cards completed (slowly) so I am definitely going to be more dedicated to making time for posting them :) This card was made for a bridal shower.  The bride had chosen silver and pink as her colors so I really wanted to be sure to incorporate both.
This was a very simple card to make.  The card base is a 5.5" x 4.25".  The designer paper (by The Paper Studio) and the white cardstock are both cut at 4" x 2 5/8". The top is embossed with the Cuttlebug Kimmy Luvs (UK - purchased from cropstop.com) folder.  The silver ribbon is from Offray. The gems are from the Michael's dollar spot.  I welded letters from the Gypsy Font cartridge to create the "Mr. & Mrs.".  Of course there's a bit of glitter - Tulip glitter fabric paint on the letters.  I think it turned out beautifully, but I'd love to hear what you think!  I do have another wedding card and some adorable thank you cards to post and I promise you will hear from me before this time next week! I totally appreciate all of my followers :) As always - *~*Thanks for stopping by*~*

I'm linking this up to: